

Airstream Air Conditioner Install – Vintage RV 1974 Airstream Safari
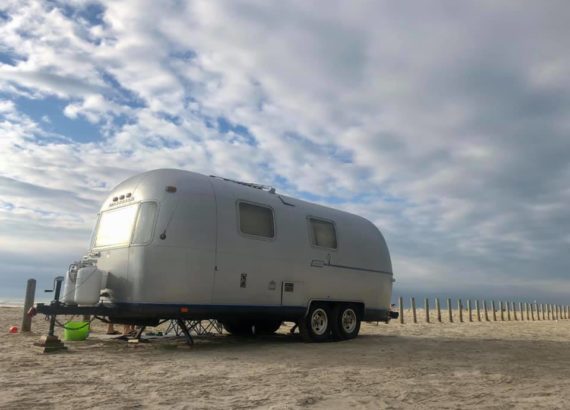
After two years of traveling in our 1974 Airstream (aka Waystream) without air conditioning we were ready for some cooler travels. Air conditioning allows for pleasant afternoon naps during a music festival and a cool reprieve after a long day of traveling. AC gives us the freedom to adventure wherever whenever we want. We found a rooftop RV air conditioning unit on Craigslist and then began researching install. Information online was minimal with a lot of folks advocating for window units and alternative cooling. We’re sharing our airstream air conditioner install journey in hopes of helping others. NOTE: some details below are of course specific to our airstream and particular AC unit, but hopefully still useful content for anyone looking to upgrade their trailer.

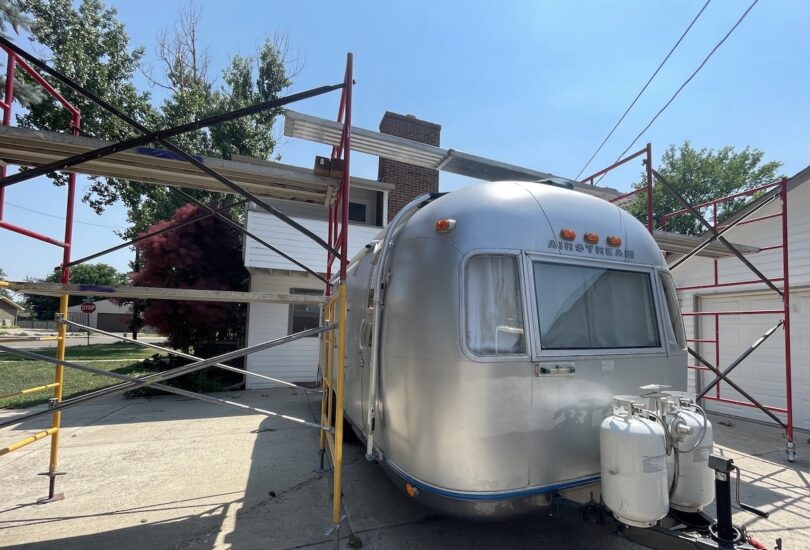
scaffolding setup 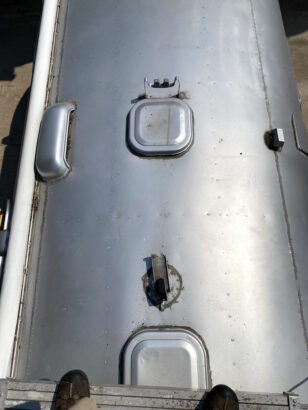
airstream roof before install 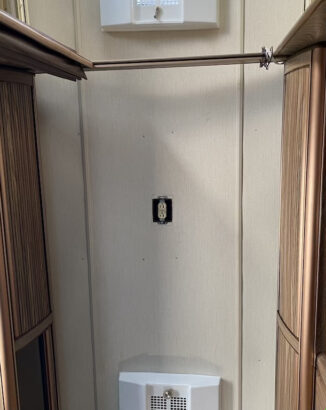
outlet location 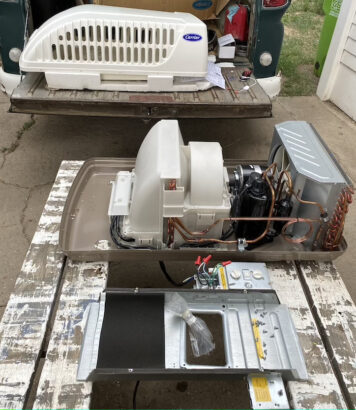
AC Unit 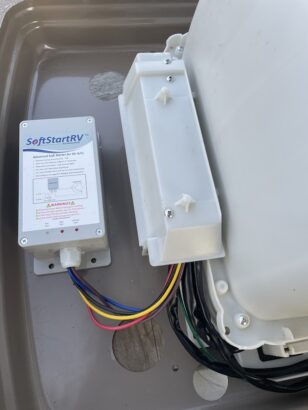
AC SoftStart 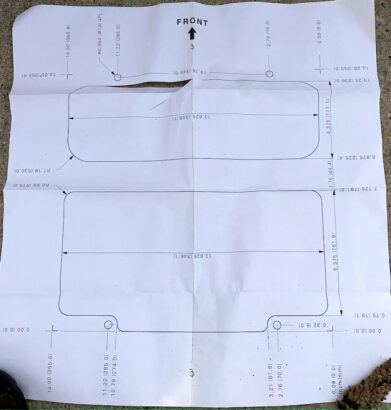
AC Diagram 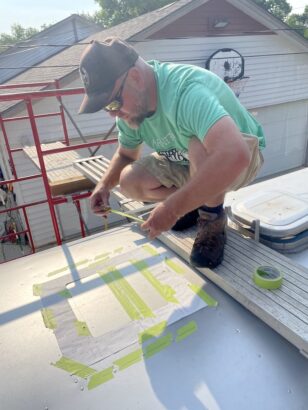
AC diagram 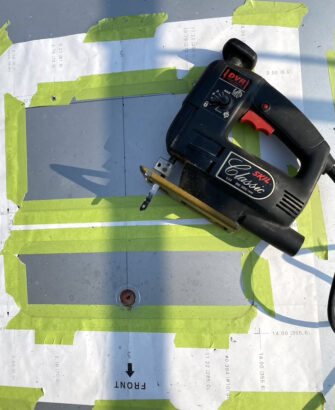
pilot hole 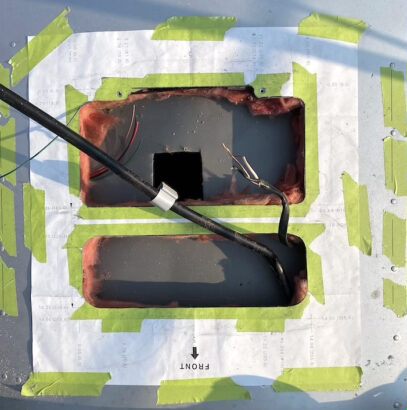
roof wires 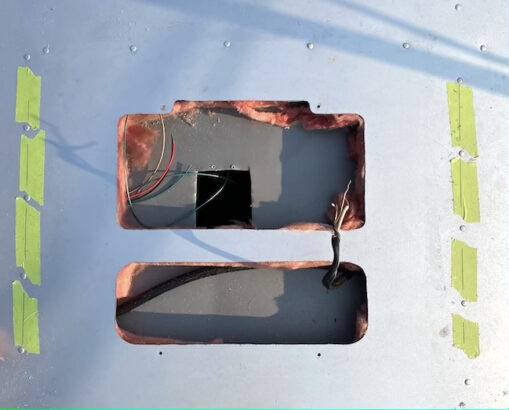
roof holes 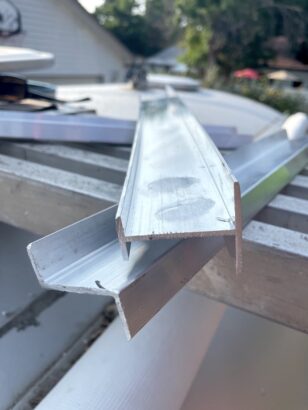
roof supports 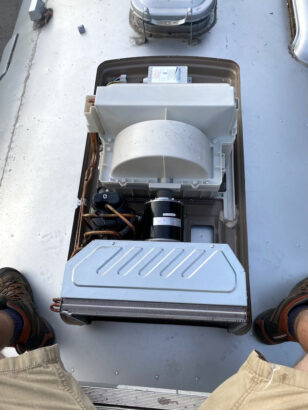
roof unit 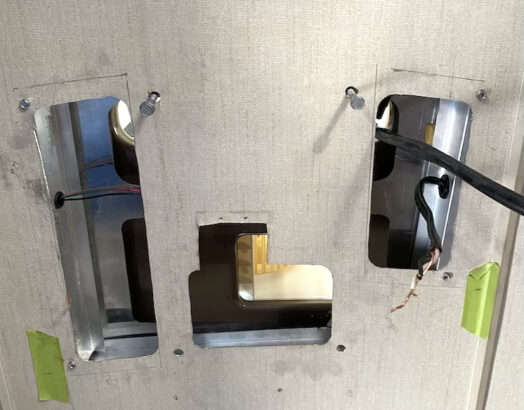
interior AC unit holes 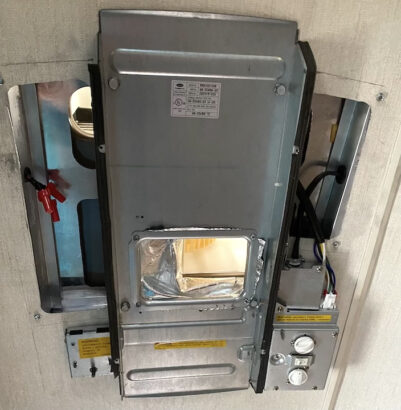
interior unit

THE FOOT WORK
- Our 1974 Airstream never had an AC unit installed, but it was pre-wired from the factory for air conditioning. Some older models of airstreams are pre-wired for an air conditioning unit (electricity and condensation drip tube). Our breaker box had a breaker labeled ‘air conditioner’, and we used a voltage meter to confirm the AC breaker operated the wiring (outlet) in our trailer’s ceiling. We could also see a a condensation drip tube that dropped under the trailer near the axels.
- Without pre-wiring we would have added a dedicated AC breaker. A separate breaker allows AC to use all power so no other appliances pull any current (while other breakers shut off, especially useful while running off a generator).
- Remove old television antennae from the roof.
- We tested the air conditioner unit while on the ground – ensuring that it powered up. We also installed a Soft Start unit (from Network RV), which allows the AC unit to start with less power to it, particularly important for operation with a generator.
EQUIPMENT FOR AIRSTREAM AIR CONDITIONER INSTALL
- Air Conditioner Carrier Air 5, 13500 BTU (this unit no longer made – it was a Craigslist score!) – came with a gasket pre-installed.
- Air Conditioner Supports (Out of Doors Mart) – gives support to inside structure of roof, otherwise inside roof and exterior would be crushed together when outside and inside units are bolted together
- Soft Start – Network RV, allows less power for AC unit to start, particularly important for use with generator
AIRSTREAM AIR CONDITIONER INSTALL
- Setup scaffolding on both sides of the trailer with a telescoping platform (expands from 8 to 13 feet) on a flat, level surface. This setup kept our feet off the aluminum to protect our airstream! NOTE: any weight placed on the trailer should be placed on the ribs of the trailers (along rivets)
- TOOLS: jigsaw (fine tooth metal cutting blade), hole saw, drill + bits, ratchet set, wire cutters, wire stripper, wire nuts
- AC Install location on trailer: center of outlet is the center of AC unit, Airstream designed AC unit location to be over axels for weight distribution. Do not install over current air vent – you’ll lose a vent, and weight distribution will be off.
- Be mindful of other wiring in ceiling – cut smaller pilot hole to feel around for wiring before cutting holes
- Ensure trailer power is off (power to the trailer and trailer breakers off)
- Steps:
- Remove outlet box in ceiling (since our airstream was pre-wired for AC)
- Drill pilot hole from the center of the outlet box inside through roof to facilitate centering unit
- Mark hole on roof (our AC unit included a diagram that we taped to our roof)
- Cut pilot hole(s) in roof (hole saw)
- Cut small hole (jig saw) to allow checking for misc wires, drip line, etc that you do not want to mistakenly sever
- Cut roof hole(s) according to diagram or 14”x14” hole
- Drill pilot holes for bolts from roof, through ceiling below
- Place supports (remove insulation as needed) between roof and inner ceiling. Before installing we drilled holes for electric wires and condensation tube (placed gromet to prevent cut metal from severing any lines down the road)
- Place rooftop unit (cover detached)
- Temporarily install inside unit to determine where to cut duct holes (trace with pencil)
- Removed inside unit and cut holes (jig saw)
- Refit inside unit to check bolt holes
- Install flexible duct work
- Final install bolts (ratchet)
- Mounted condensation drip line inside bracket of AC (our unit didn’t end up connecting to our existing drip line)
- Access wiring from inside and route into electrical box (connect with wire nuts),
- Connect the electrical wiring harness from the top unit into the power source
- Connect the bottom vent cover wiring harness into the electrical box
- Install bottom unit cover
- Test on shore power (breakers on), fan only and then AC mode to ensure compressor kicks on
- Test with generator power
AIRSTREAM AIR CONDITIONER OPERATION
- Shore power: electrical breakers on, test on fan only mode before testing AC unit on low, then high
- Generator: Honda 2200i Generator (requires 20amp adaptor to 30amp plug)
- don’t rely on the sticker of off-brand generators. Look at engine size (80 CC is not enough power to run an AC unit (unless you operate in parallel). Honda generators are more expensive for a reason; they have a 120cc motor engine.
- Honda Bluetooth connection + Honda My Generator App allows you to see from your phone how many amps you’re using in real time.
- START-UP: shut other breakers off, start with AC unit off, start generator (eco-mode off), and turn AC unit on low to stabilize before turning it to high. Once operation is stabilized eco-mode can be turned on so it runs at lower RPMs, runs quieter and saves fuel. Turn other breakers on (though depending on other variables we aren’t always able to flip other breakers and pull more power with our generator).
- Generator operation may be affected by the electric cord. Better operation with shorter length and thicker gauge cord. Note that elevation can also impact how well the motor and generator operate.
Enjoy some photos from our 1974 Airstream Safari air conditioner install…